We glue the thresholds on the car with a vinyl film "carbon"
Let's talk about how you can protect your car from various kinds of damage, and we will talk about protecting car door sills. They scratch and are very good.
Once again, after washing the car, I noticed a few new scratches and thought about how to protect the thresholds from constant scurrying and scratching on them.
There is always a way out. Special metal linings are sold, which are glued with double-sided "automobile" adhesive tape. Went to the market. Door sills cost around 500 rubles, but they were not on my Nissan note, they were on Qashqai and x-Trail. They persuaded me to buy and try whether they will fit or not (if not, then with a return). Thresholds were narrow and not native - did not buy. On the Internet, thresholds for my car cost about 2000 - 2500 rubles (some original ones). Didn't order either.
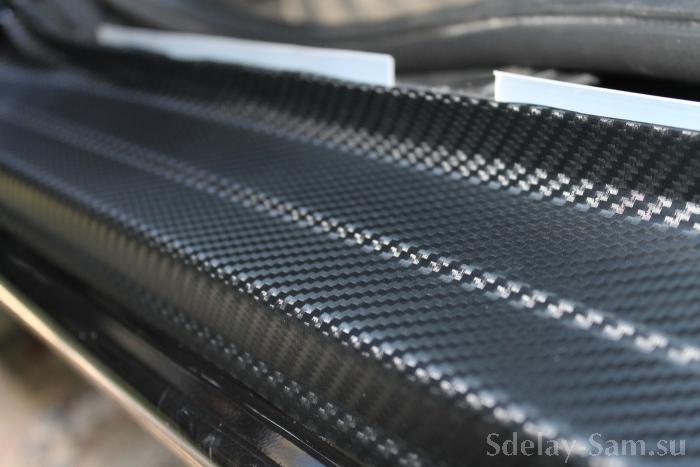
We are not looking for easy ways! I purchased carbon vinyl wrap and had my door sills refitted with it. It is quite durable, it will not scratch or tear. The film costs 600 rubles per linear meter, I bought a piece 100 by 150 cm, black carbon.
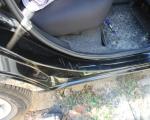
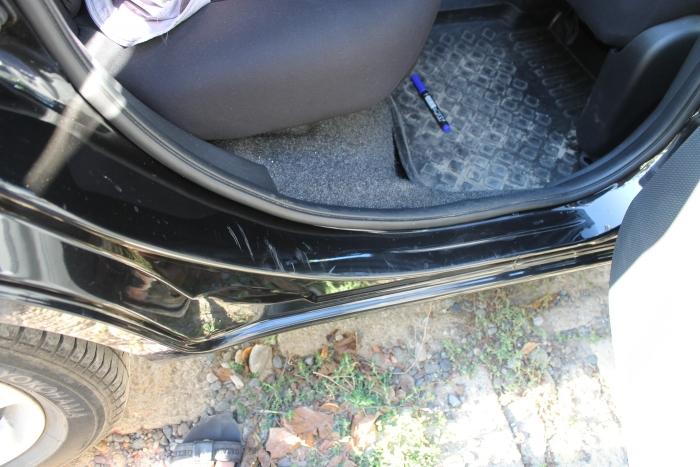
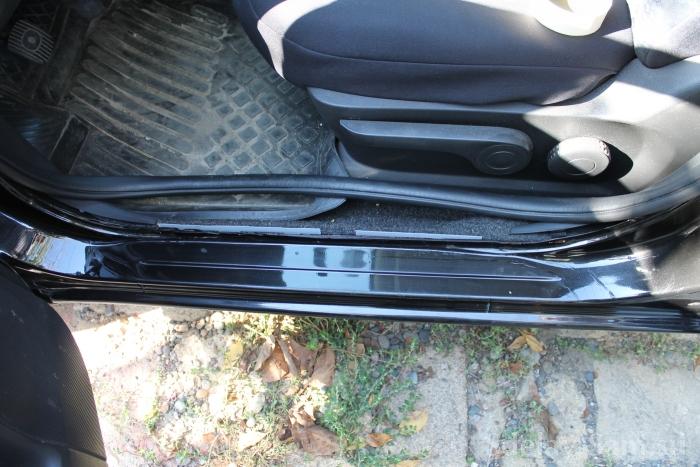
This is what the threshold of the car looked like before pasting: not very presentable for an almost new car))). Let's get started!
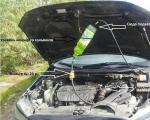
The car or places that will be covered with a film must be clean: we thoroughly wash everything.
The place where the carbon wrapping process will take place should be bright and clean so that there is no dust. At first I wanted to do everything in the garage, but I don’t have enough light and I had to do everything on the street;)
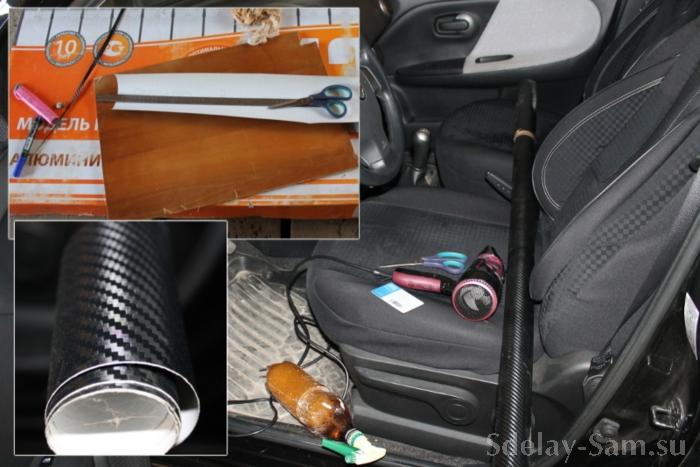
What we need:
- Vinyl film carbon
- scissors
- Stationery knife
- Ruler or tape measure
- Hairdryer industrial or ordinary (I took it from my wife)
- Plastic card for film leveling
- Soap solution sprayer (in my case, water + liquid baby soap)
- Dry rags
- Marker
- Direct hands and the desire to do everything well;)
We remove the sealing gum and once again rinse / wipe the work area.
Under the rubber bands we see white plastic corners to which the mats are attached. Thanks to them, the mats hold and do not rise.
And here we immediately find a minor, not pleasant, defect of the manufacturer: these corners are attached with a stapler with staples. And that's what these rusty brackets have done .... They tore off all the paint on the boxes from the inside. And such a picture was waiting for me on all 4 doors. Not nice! The car was assembled from the UK. That's Europe for you!
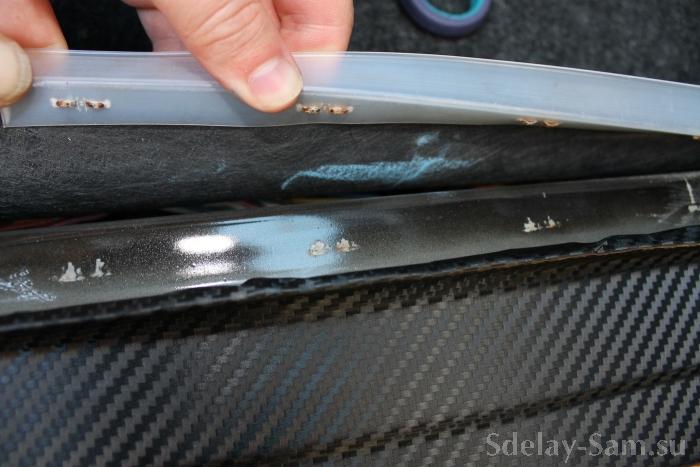
We immediately eliminate this matter by isolating the brackets with double-sided tape, sticking the bracket on the corner with it (we simply do not peel off the second side of the tape). The scratched places are well cleaned of rust, where it was and coat with Movil.
We did this after sticking the film, just before installing the sealing gum.
The gluing process itself begins with the fact that it is necessary to measure and cut off the required amount of film.
The length of each piece of film (for all 4 thresholds) was 50 cm.
Width: on the front - 16 cm, on the back 20. I did a little with a margin, you can always cut off the excess.
The film comes with an adhesive base.
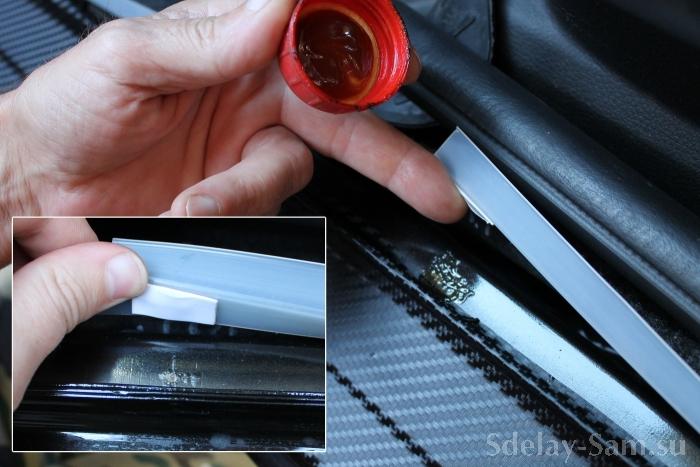
The technology is about the same as when tinting a car - it is better to glue it "not dry". To do this, we need a 10: 1 soap solution - 1 part howling agent and 10 parts water.
We spray the soapy solution on the thresholds, then remove the paper layer from the film, and also wet the adhesive side of the film. This will give us the opportunity to level the film on the spot, move and adjust as it should.
Unfortunately, I did almost everything myself, so there is no photo of the process of cutting and removing the film. But there is a video filmed on the "last threshold" (thanks to my nephew, who worked as an operator).
After the sheet of film has been moistened, we apply it to the place, we can’t level it and immediately begin to warm it up with a hairdryer. The film heats up and gradually fits the threshold. When it warms up well, it is easy to give it the desired shape with a dry cloth. With a rag and a plastic card, we drive out all the water from under the film, while constantly heating the entire surface with a hairdryer.
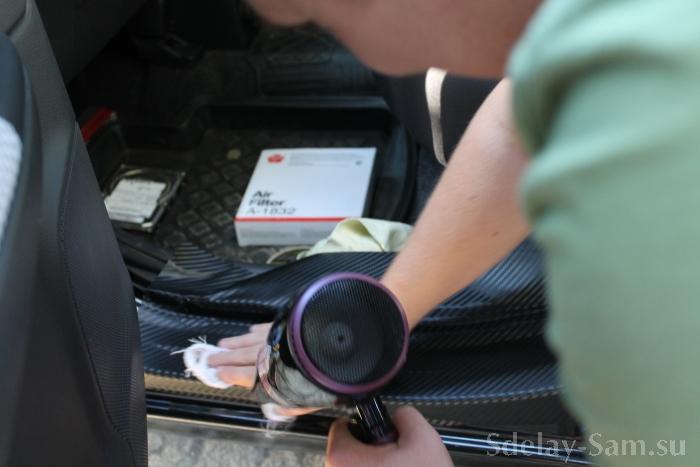
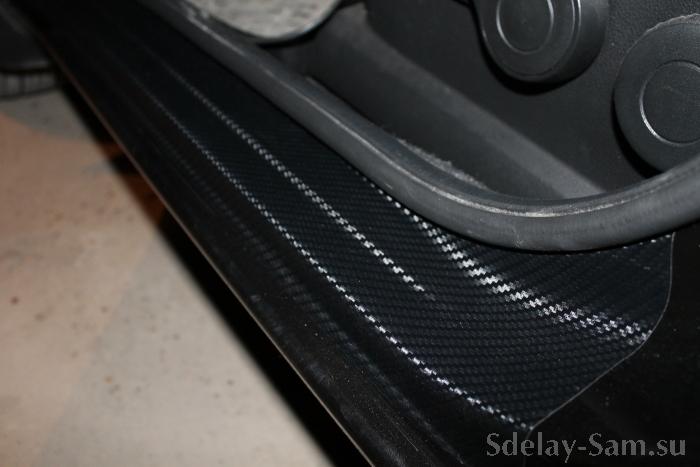
I thought there would be problems on these curved places and there will be creases, but no ... everything turned out well. The folds were - all the same, not a flat surface. I removed them by heating with a hair dryer and smoothing with my hands and a rag. The film fit everything as it should)))).
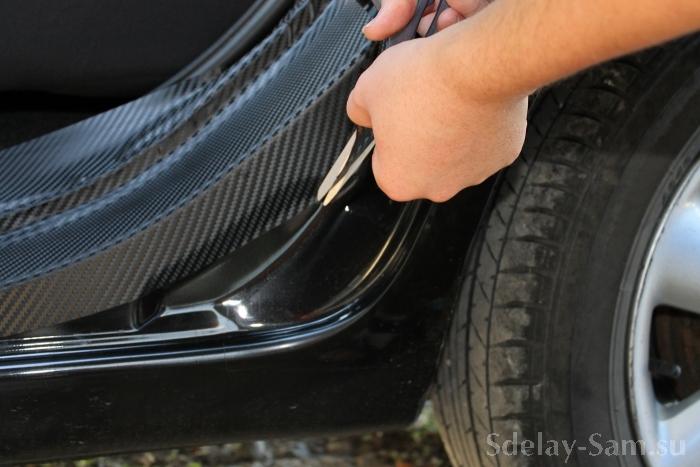
We cut off all the excess and once again warm everything well with a hairdryer and grind it.
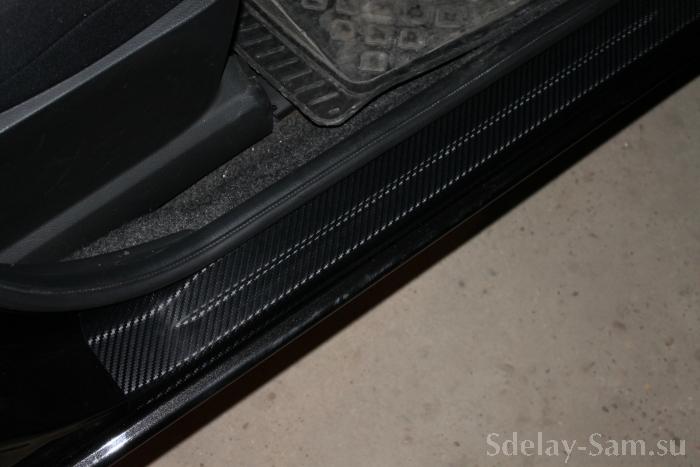
After cooling the film and a short break in some areas (bends), the film rose slightly. I warmed it up again with a hair dryer and wiped it with a rag.
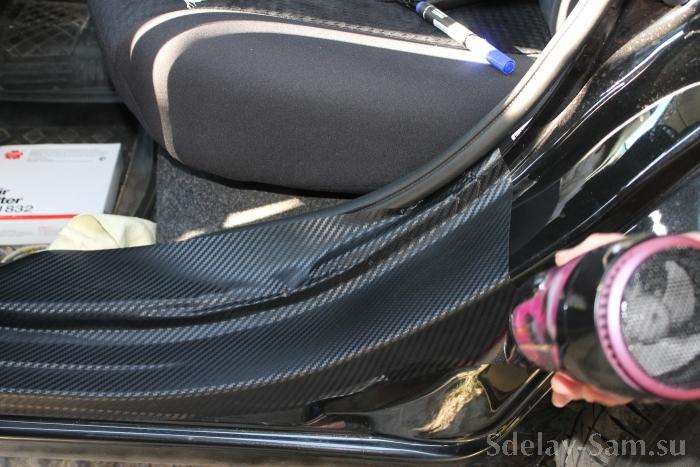
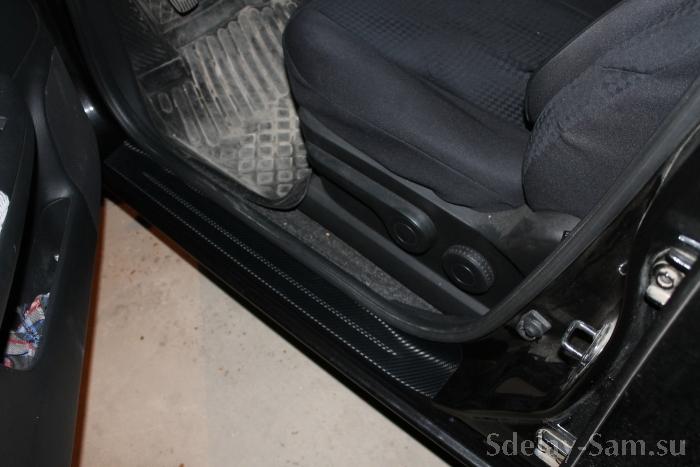
This is what the thresholds on my Nissan look like now
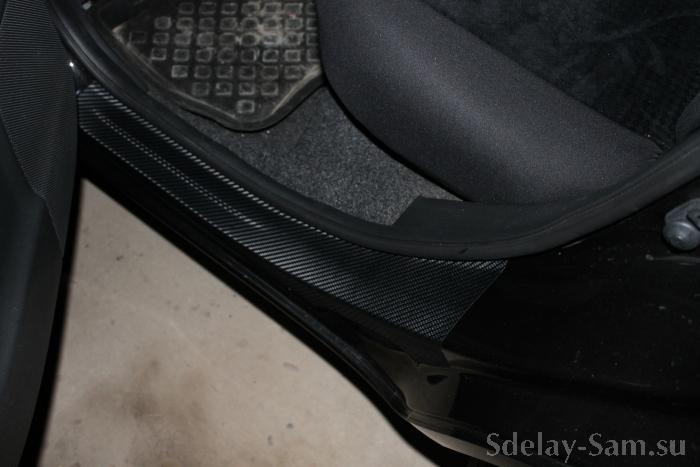
The less wetting, the better and faster the film adheres.
It took about one and a half to two hours to glue 4 thresholds on a car. Probably more preparing and measuring how much to cut.
If we talk about expenses, then this is how much it cost: I paid 600 rubles for a linear meter of carbon film, but I actually used up a strip of 1m by 40 cm, i.e. less than a third part, respectively, by 200 rubles. But I'll put the rest somewhere.
In the same way, you can glue the bumper, hood and headlights with a transparent film to protect against pebbles. It will be easy to do this. Transparent films can also be bought on the market by the footage or ready-made blanks for the hood and bumper.
It will cost around 1 thousand rubles, I think. I found out how much it costs, where they do tinting .... So, booking cabot, headlights, bumpers and mirrors costs from 10 to 15 thousand rubles. Expensive, isn't it? It is better to do it yourself.
Thanks to my nephews: Rostislav and Kirill for their help in filming the video, it would not be convenient on my own!