How to test the generator regulator relay? Doing it right
It is useful for many drivers to know how to check the generator regulator relay. After all, problems with him occur relatively often. This is the most common generator failure. At the same time, the battery stops charging, a red (usually) “eye” is lit on the dashboard, screaming about a malfunction of the generator. By the way, do not immediately sin on the breakdown of the relay. Almost all models have a fuse protecting its circuit.
When it is triggered, all the symptoms of an “untimely deceased” regulator relay are observed. First, take a look at the fuse box, and make sure that the order reigns there. If the cause is not there, then the operation of the control device should be checked.
Kinds
How to test the generator regulator relay? To answer this question, you should figure out what kind of relay regulators (chocolates) are. Most often you can find 3 types of relays:
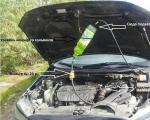
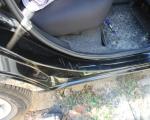
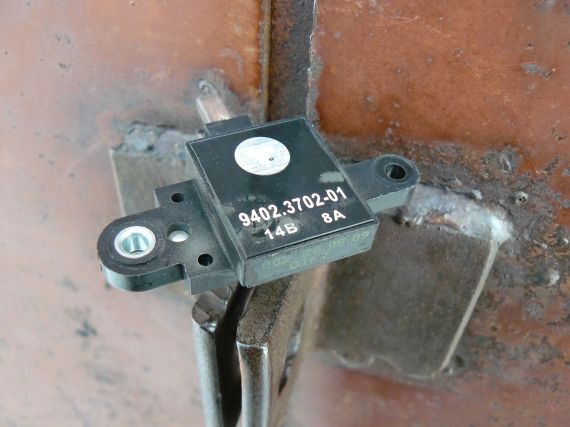
- 591,3702-01 , these are the oldest relays. They were put on the first VAZ cars. Such a regulator is located separately from the generator, on the wing. It is because of their appearance that all relays of this type are called "chocolates". It can still be found on old domestic cars, as well as on some motorcycles;
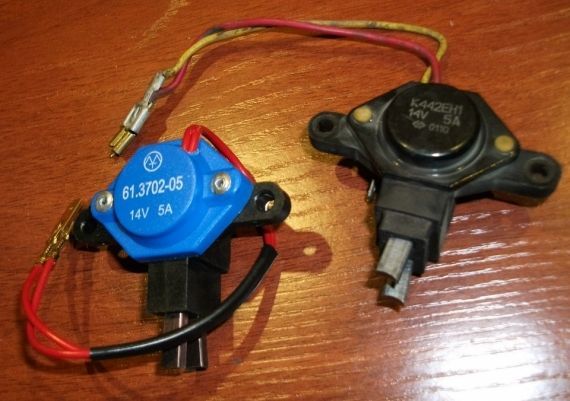
- Ya112V- this is a more modern relay, it uses an integrated adjustment circuit;
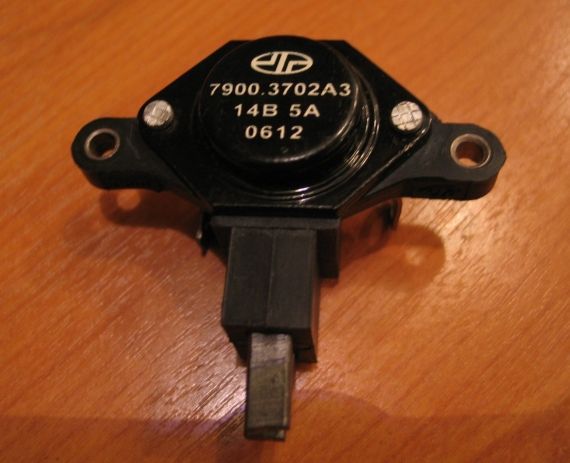
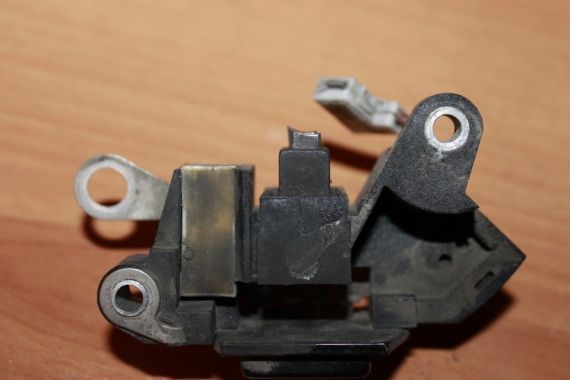
- Ya212A- the most common type of relay-regulator now.
To check, you will need a voltmeter, a 12 V light bulb, and a power source. A voltage regulated charger would be ideal. To start its work, you will have to use the battery, otherwise the automation will not give a command to supply power to the crocodiles. If such a charger is not available, then you can use a car battery. The accuracy will be slightly lower, but this will be enough to make a check.
591,3702-01 . This type of relay, as already mentioned, is not located on the generator, but is placed on the wing. This makes access to it more comfortable. To check it, you need to connect it to the minus of the battery, one of the conclusions receives a plus from the positive terminal. The light bulb is powered from the other output. You should check the voltage in the circuit. It should fluctuate from 13.5 to 14.5 V. All different readings indicate a relay malfunction.
Ya112V. This regulator is already built on an integrated circuit, which makes it more accurate. For greater accuracy, it is installed directly on the generator. It can be, both assembled with a brush assembly, and without it. It all depends on the model.
To check, you need to make a chain. To do this, the "mass" is connected to the regulator housing. Plus is fed to output "B". The light bulb is connected to the conclusions "W" and "B". Next, turn on the 12 V charger, this is enough for a start. The lamp included in the circuit should light up. If you increase the voltage to 14.5 V, it should burn without ceasing. As soon as this threshold is passed, the light will go out. When the voltage returns to less than 14.5 V, it will light up again. If the regulator is faulty, the bulb will either not turn on at all, or will work even at higher voltage.
Ya212A. In general, the process for checking this type of regulator is similar to that described above. But, there are some differences. First of all, they relate to the connection of the regulator. All devices of this type are assembled with a brush assembly. This is quite convenient; if necessary, it allows you to quickly replace both worn brushes and a damaged relay. When checking this type of device, the light bulb is connected to the contact brushes. In this case, minus and plus go to the corresponding outputs of the relay-regulator. The rest of the check is carried out similarly to the previous version.
What to do in case of malfunction?
Some drivers underestimate the importance of the regulator relay. In case of problems with this device, or vice versa, it will receive the maximum possible current, which will lead to the boiling of the electrolyte. Delaying the replacement of a faulty relay will result in battery failure. Replacing which will cost you much more than a small relay.
If you find problems with this device on the way, and you still have a long way to go, then an ordinary 12 V light bulb can temporarily replace the regulator. This, of course, is not a full-fledged relay, but you can get home without excessive load on the battery. This is done as follows (let's first consider the example 591.3702-01):
- The relay disconnects from the generator;
- Conclusions "C" and "B" are interconnected by a piece of wire;
- Conclusion "Sh" is connected to the body of the brush assembly;
- The wire going to contact "30" must be disconnected and insulated as reliably as possible;
- The light bulb crashes into the wire going to pin "15".
- In integral relay-regulators, the connection is a little different:
- The relay is disconnected from the diode bridge;
- The bulb is connected to the wire coming from the generator to the relay.
Other reasons
In addition to a malfunctioning relay regulator, charging problems can be caused by other reasons. It is advisable to check them before starting to check the "chocolate". This can make your troubleshooting job much easier. So, charging can fail for the following reasons:
- Oxidized contacts. Try stripping the battery leads and the terminals going to them. In many cases, this action helps to restore the normal level of charge;
- Worn brush assembly. The brushes should not be shorter than 1.5 cm, with a shorter length they do not reach the slip ring, and current is not generated. Sometimes, if the assembly is installed incorrectly, one brush may wear out more, which also leads to the loss of charge;
- The problem may also be caused by the (rectifier). If all other elements of the generator are in order, then check the performance of this part of the design.