Chevrolet Lacetti valve cover gasket replacement.
Each family of cars has its own “signature sores”, the Chevrolet Lacetti (Chevrolet Lacetti) has periodic oil smudges on the cylinder block and a specific smell caused by its burning. The reason is the poor-quality rubber of the valve cover gasket, which deforms very quickly and ceases to cope with the functions assigned to it, therefore, every owner of this car should know how to replace the Chevrolet Lacetti valve cover gasket.
General information.
The manufacturer recommends changing the valve cover gasket in the Chevrolet Lacetti every 80 thousand km. mileage, but in reality this procedure has to be carried out much more often. There is nothing complicated in it, the procedure for different motors is almost identical and is not difficult if you stock up on the necessary tool in advance:
- open-end wrench and head for 10;
- alcohol;
- slotted screwdriver;
- pliers;
- 2 ratchets: standard and with a dynamometer;
- sealant.
Replacing the valve cover gasket Lacetti 1.4: instructions.
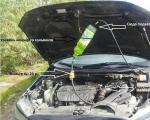
- Disconnect high voltage wires. Remove crankcase ventilation. Disconnect the camshaft position sensor.
- Make room for yourself by sliding the hoses next to the cover.
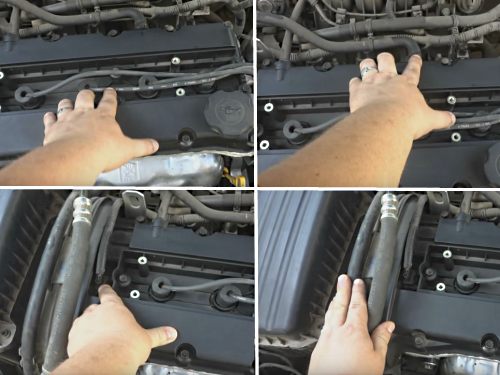
- Using a 10mm head, unscrew the 15 valve cover bolts.
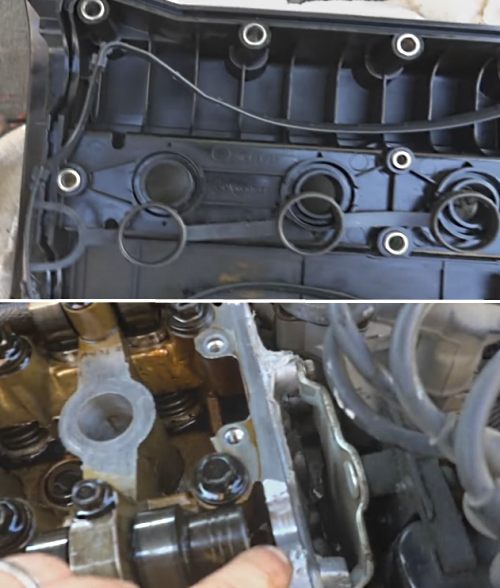
- Remove the valve cover.
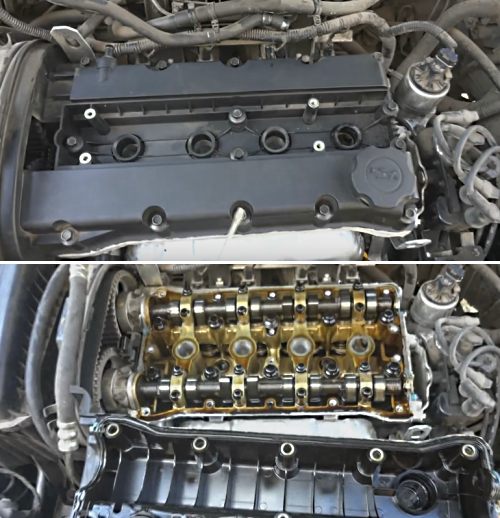
- Free her seat from the old sealant, degrease it.
- Remove the gasket from the cover and clean this part thoroughly. A mixture of kerosene and acetone (1:1) can be used as a cleaning agent.
- Degrease the groove into which the gasket will be inserted. Apply sealant to the corners of this groove, then install the gasket.
- Apply sealant to the corners of the seat and install the valve cover in its place.
- Perform a moderate (in 3 passes) tightening of its mounting bolts, starting from the middle and diverging towards the edges.
- Return all dismantled and shifted elements in steps 1 and 2 in reverse order.
Replacing the valve cover gasket Lacetti 1.6: instructions.
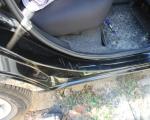
- Remove the engine protection. Disconnect high voltage wires. Remove crankcase ventilation. Disconnect the camshaft position sensor.
- Unscrew the valve cover bolts and remove it.
- Remove all silicone rings from the lid. They are short-lived, so it is better to replace not the original ones, but the Kamaz valve cover rings. They have the same size, but are much more reliable.
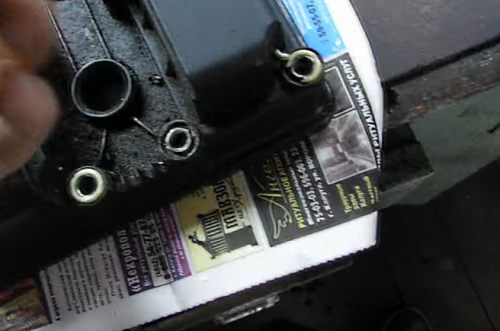
- Take out the pad. Rinse and clean the entire valve cover.
- Remove the old sealant from its seat on the engine.
- Insert a new gasket into the valve cover. Pay special attention to the edges of the cover, you may have to press the gasket into them a little.

- Install the half rings on the seat and apply sealant.
- Return the cover to its place and use a torque wrench (force - 10 N * m) to tighten the bolts of its fastening according to the scheme given in the instruction manual for this model.
- Reconnect all removed wires in reverse order.
- Wait for the sealant to dry completely, only after that the repair can be considered complete.