Do-it-yourself grenade replacement
The CV joint is one of the most important components of the chassis of the car. Traffic safety depends on its condition, so the timely detection of faults and the replacement of parts are the main task of any motorist.
Causes of grenade failure
A car is a complex technical organism, which consists of many important units, interconnected functional parts and elements. Each individual element has its own functional purpose and a limited operational period. The task of every motorist is the timely replacement of some parts or components, which gives maximum safety when driving. This approach should be applied to almost all components of the vehicle, including suspension elements.
The CV joint or grenade has a limited lifespan, so it needs to be changed from time to time. The design features of each car differ only in some points, therefore, if you freely coped with this operation on one of them, you can also easily cope with the other.
How to determine that the CV joint on your suspension has become unusable? In principle, even the most inexperienced can determine this, since the grenade declares its malfunction to the whole world for all to hear with a terrible crack when cornering or a crispy-rolling trill even with a small turn of the steering wheel.
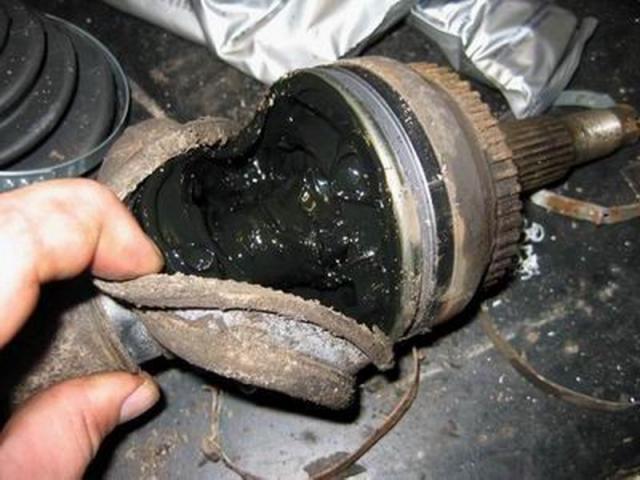
The reasons for the failure of a grenade are commonplace. It can also be a common damage to the CV joint boot, after which dust and dirt that has entered the separator of the device gradually leads to wear of the balls and the separator itself. And also the cause of failure may be the poor quality of the device or the end of its service life. Non-standard reasons include breakage of the retaining ring, due to which the axial shaft partially exits the separator during a sharp turn, the separator bites and, over time, damage is formed that is incompatible with the future life of the grenade and traffic safety.
Replacing the CV joint of a grenade
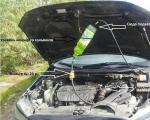
To replace a faulty CV joint with a new one, you need socket heads for 30, 17 and 13, a wrench (17), a mounting blade, a balloon and a wrench with a decent length handle.
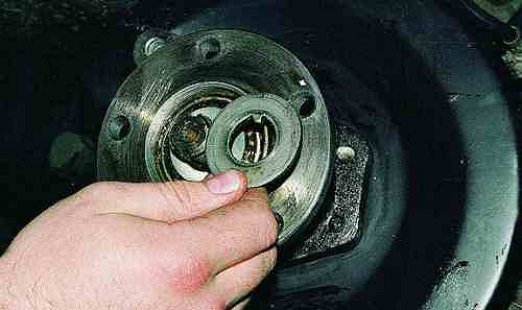
To begin with, we prepare the car by using the parking brake, we also put clamps under the rear wheels, then we remove the cap that protects the hub nut with a conventional screwdriver, and unscrew it slightly.
Then we raise the side of the car that interests us on a jack or lift and unscrew the wheel. We take out the thrust washer of the hub.
The next step is to unscrew the bolts securing the lower ball joint. With the help of a wrench, we move the steering knuckle and remove the ball pin. We pull the steering knuckle together with the rack and remove the splined part of the outer grenade.
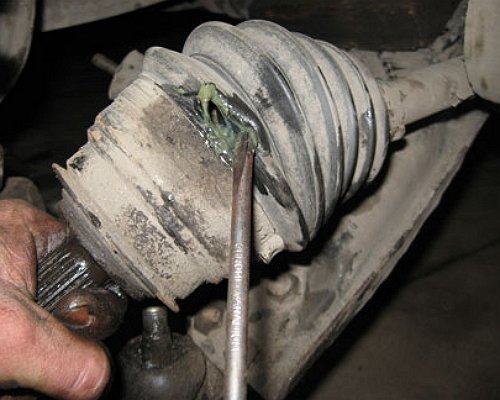
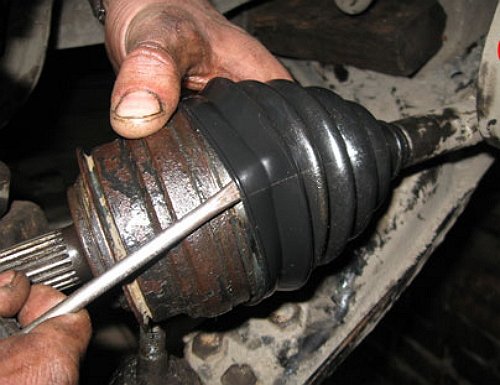
The next step is to remove the clamps from the outer joint, for this it is necessary to clamp them in a table yew. We unscrew the boot from a faulty drive, or simply cut it off. The CV joint itself must be knocked off the shaft with a punch. This event may require decent effort, since the grenade is held on the shaft by a retaining ring. But since it is faulty, you can not spare the retaining ring, the other is included with the new part.
When installing new CV joints and anther, do not forget about lubrication. For this, a graphite-based lubricant is usually used; it quite often comes in the same kit with the part. If it is not, then you should buy separately.
First, we wipe the shaft from the old grease, and lubricate it abundantly. You should not overdo it either, since an excess of it causes a loss of elasticity of the material from which the anther is made. After installing it, we put new rings on the shaft in the same sequence in which we removed them.
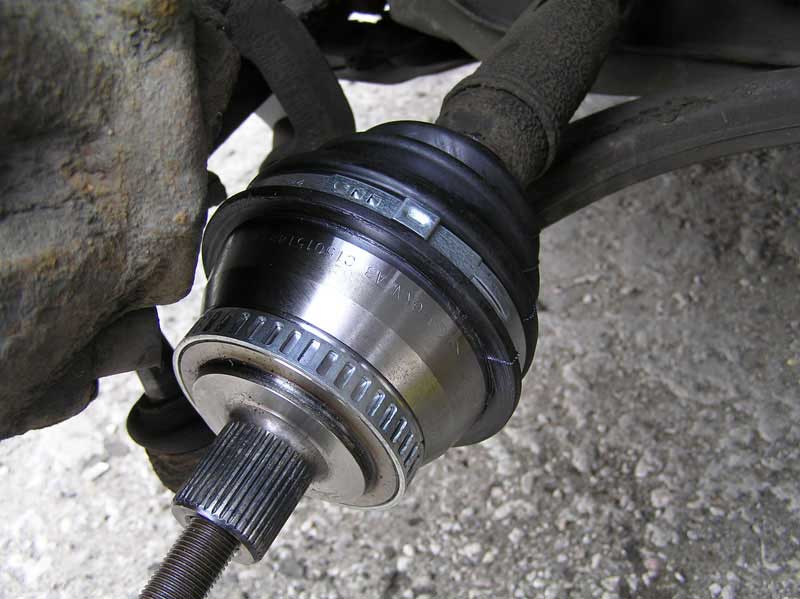
Next, we take a new grenade, stuff it abundantly with grease, here you can not feel sorry for it at all. We substitute it to the splined side of the shaft and put it on with a wooden hammer. We tighten the clamps, and install the drive in place in the reverse order, tighten the hub, insert the ball pin into place and tighten all the bolts and nuts.
In principle, the entire procedure for replacing a grenade takes no more than 30-45 minutes, and is quite affordable for every motorist, regardless of experience.