Replacing bushings of jet rods VAZ 2107.
Good afternoon, dear visitors of the site site. In this article I will tell and show how to make the replacement of the bushings of the VAZ 2107 jet rods myself. The principle of replacement is the same for all Classic VAZ models.
In the last article "Replacing jet rods of VAZ cars", I showed how the rods change completely, but if only the rubber bushing (silent block) is worn out, then it makes sense to replace only it.
To begin with, we need to diagnose and find out whether bushings need to be changed on all jet rods. How to correctly diagnose the front and rear suspension (chassis), I recommend that you read a special article (Later I will put a link).
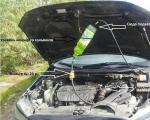
To do this operation, we need a viewing hole. It's good that I have it. Before, when she wasn’t there, I kept running to my neighbors to let them dig deeper into my car, but now everything is much simpler.
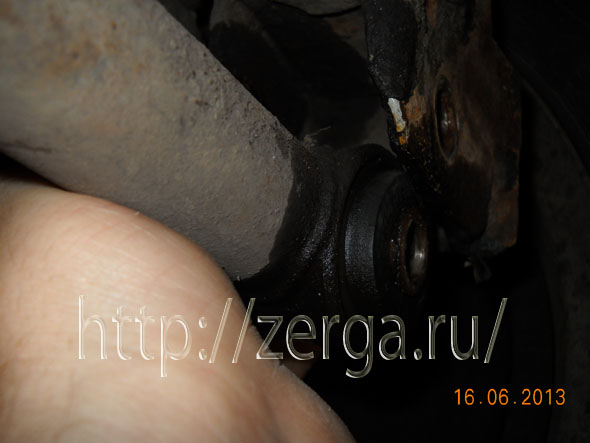
Having rolled the car into the inspection hole, I determined that the rubber bushings on the transverse link had worn out. Now let's get started.
The first thing to do is to remove the transverse jet thrust. I took a metal brush and thoroughly cleaned all the threads on the bolts from dirt and treated with WD-40.
Now that we have everything ready, I unscrewed both nuts without much difficulty.
We faced the next test, this is to pull out the bolts. Why test? Because if the gum is loose, then moisture gets between the bolt and the metal sleeve and corrosion begins. All this leads to the fact that under the influence of corrosion the bolt sticks to the sleeve and sometimes it is simply not possible to pull out the ego.
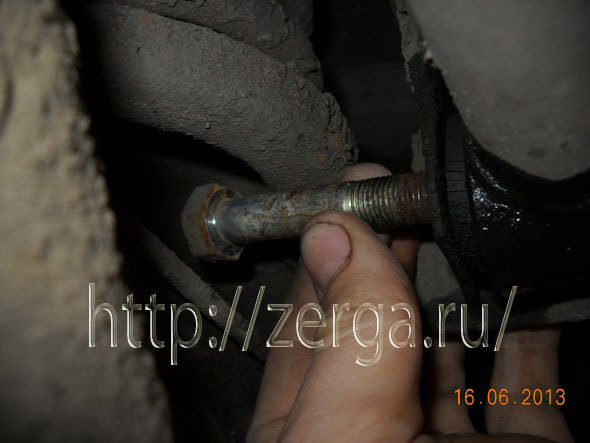
In my case, I was very lucky and the bolts went very easily. The left bolt came out perfectly, but the right one rested on the lower spring cup.
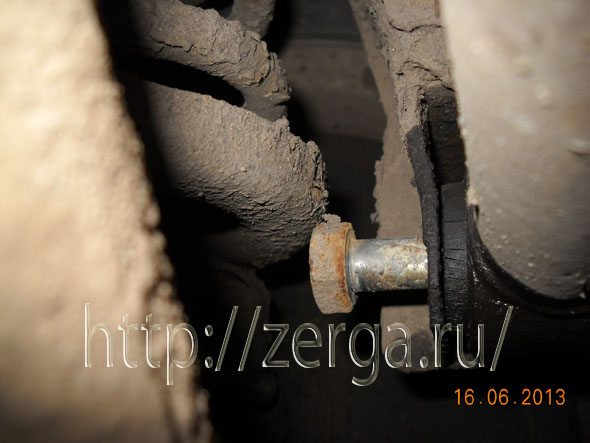
The photo above shows where the bolt rested. To pull out the bolt, you need to load some scrap metal into the trunk or ask a friend to press down the rear of the car a little. Thus, the bracket will go down a little and the bolt can be pulled out freely.
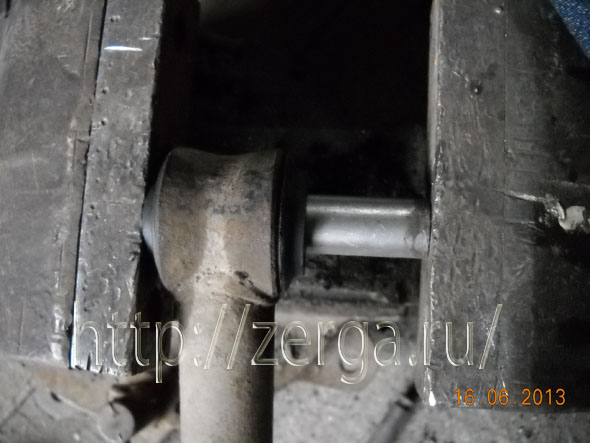
Now we just extract the thrust, there should be no difficulties here. If the jet thrust will go tight, then you can help her with a mount.
Replacing the rubber bushings jet rods.
To pull out the rubber bushing, we need to knock out the metal inner clip (sleeve). After rummaging through my toolbox, I found the right tool. I don't know what it is, but it just fit. In my opinion, this is a tool for punching holes in the wall, such as an ancient perforator :).
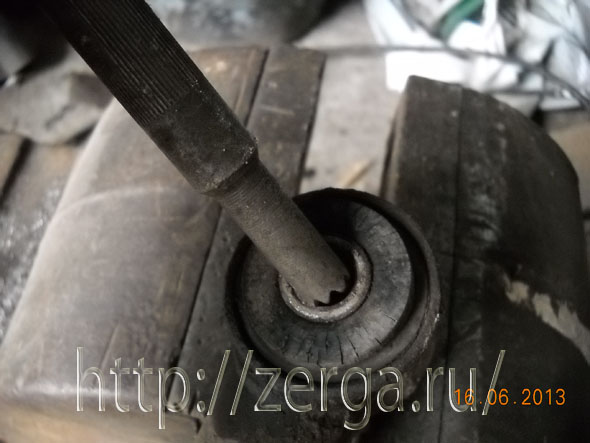
A few more blows and the sleeve flew out along with the tip. Here, be careful not to hit your fingers with a hammer when the bushing comes out sharply.
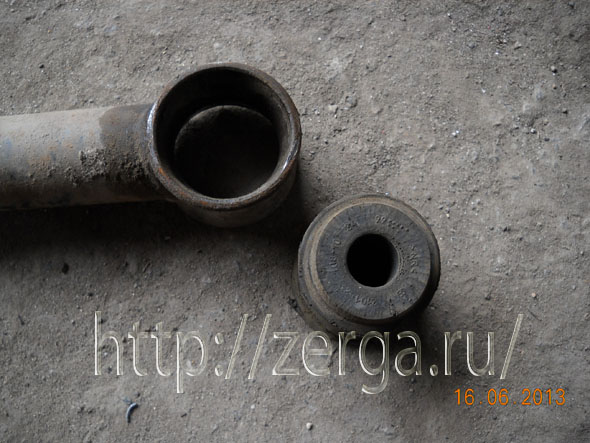
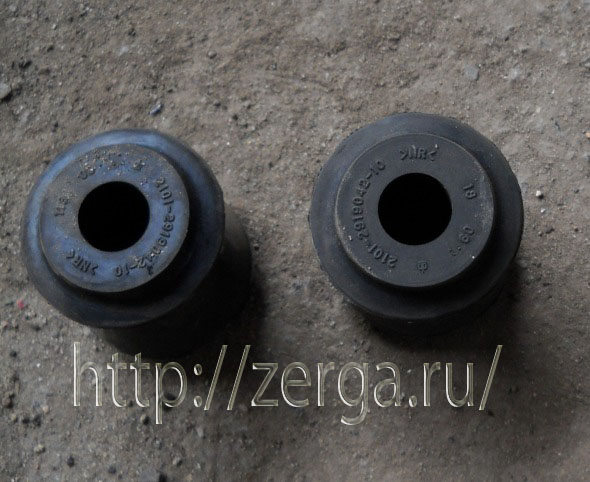
After all the efforts, this is the picture.
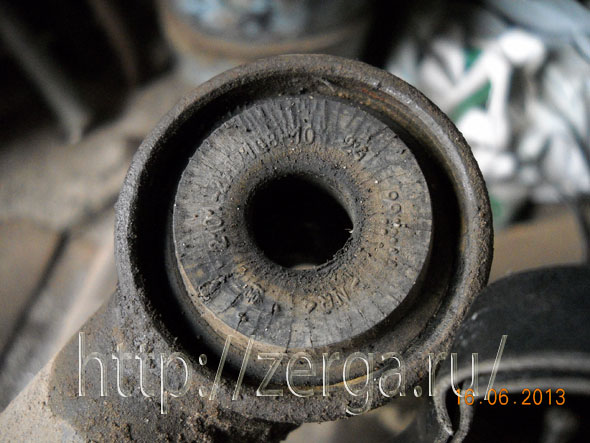
The photo above shows how the rubber bushings cracked and this is not much wear. With more wear, the inner metal clip itself falls out and the rubber band too.
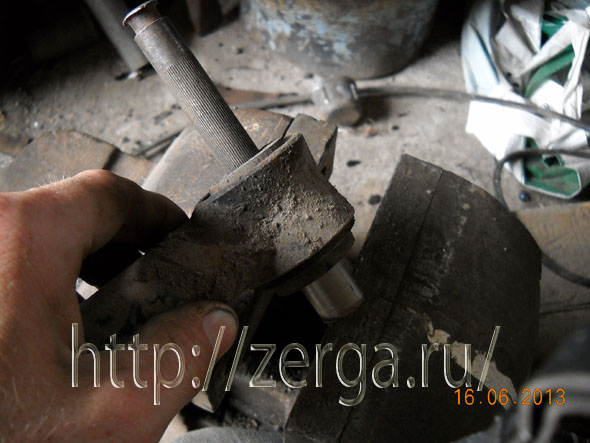
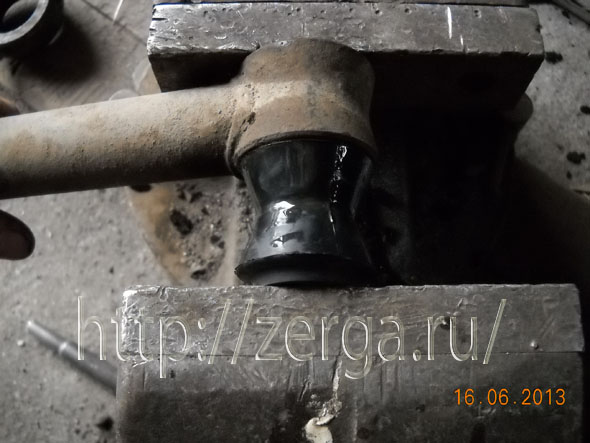
The next step is to squeeze out the old gum. We need a rod for extrusion and an emphasis for jet thrust.
I was too lazy to make a special puller and, after rummaging in the garage, I found a suitable tool.
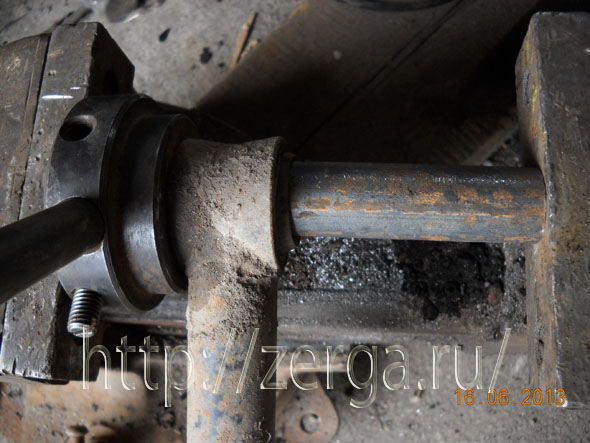
Instead of a thrust bushing, I used a holder for large dies (with which threads are cut), and for extrusion, I used an ordinary metal round log with a diameter of 25 mm.
The photo above shows how I installed this design. With a little effort, the sleeve will easily squeeze out.
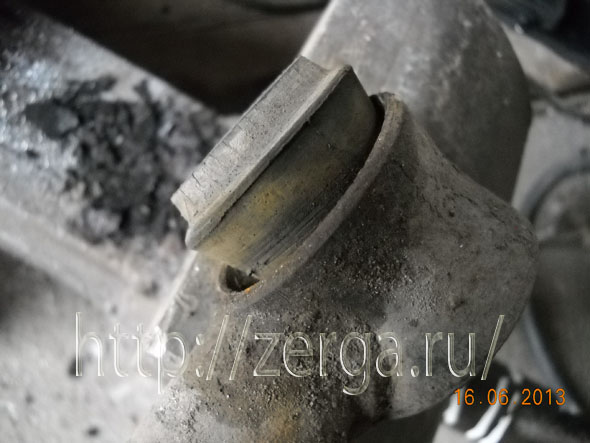
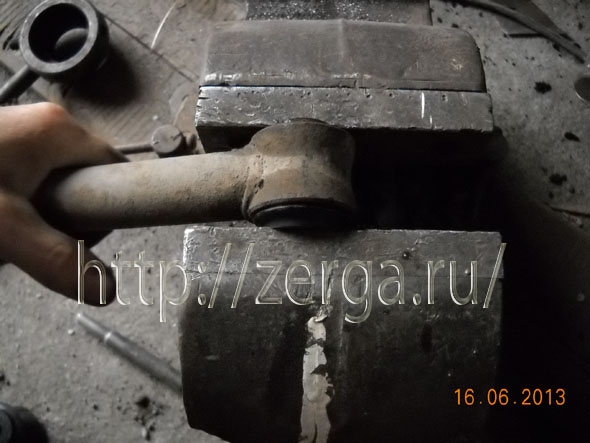
The photo above shows how the sleeve began to come out.
With a little more effort, she popped out.
Preparing for the installation of bushings jet rods.
Before you install a new bushing, be sure to clean out all the dirt and rust inside the metal cage of the jet thrust. If this is not done, then when pressing in, a new sleeve can be wrapped and damaged, which we do not need in any way. Yes, and the installation of the sleeve itself will be problematic.
The inner bushings are also subject to wear and see if they are badly worn, then feel free to change them to new ones.
If it is still suitable for further use, then be sure to chamfer the edges.
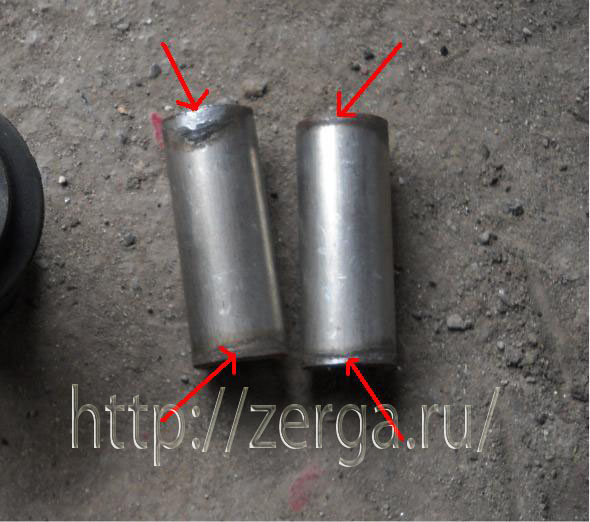
This is necessary so that when we press in the metal bushings, they do not damage the rubber bushing. Why I say this, because there were cases when I had to change new rubber bushings because of their damage.
I bought new rubber bushings in advance. I did not seek to buy expensive and branded bushings, because ordinary ones go for quite a long time. Of course, you can buy expensive self-stabilizing ones, but I took simple ones.
We proceed to the installation of bushings jet thrust VAZ 2107.
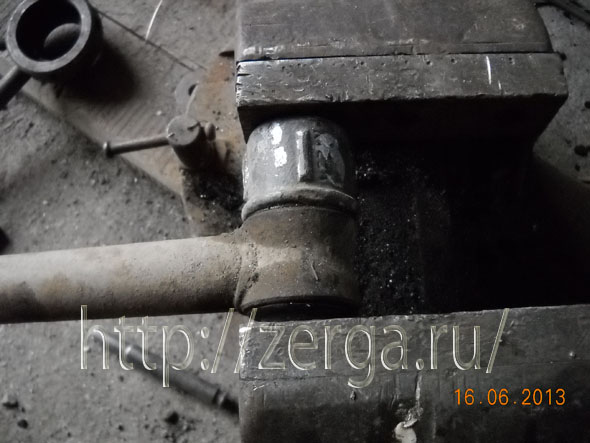
In order for the bushing to easily enter the jet thrust cage, it must be lubricated with soap. Then we install the bushing and jet thrust, as shown in the photo below.
Under the influence of a vice, the sleeve will enter into place. When squeezed, the elastic will begin to bend in one direction and it would seem that she does not want to enter, but you do not pay attention and squeeze further, she simply has no chance and she will eventually enter. The main thing in this case is to quickly squeeze the vise.
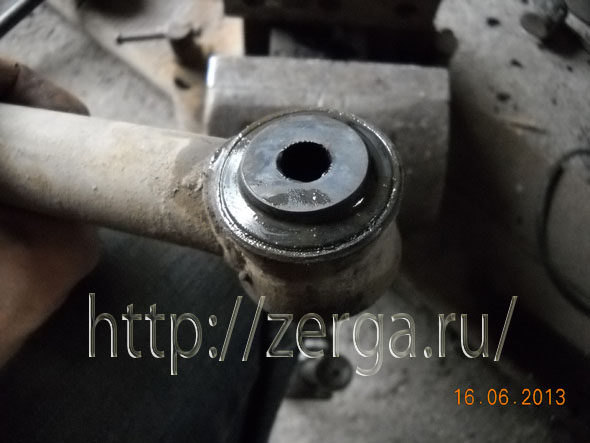
After the work done above, we got the following result.
And now, the most important task remains. We need to press in the inner metal sleeve.
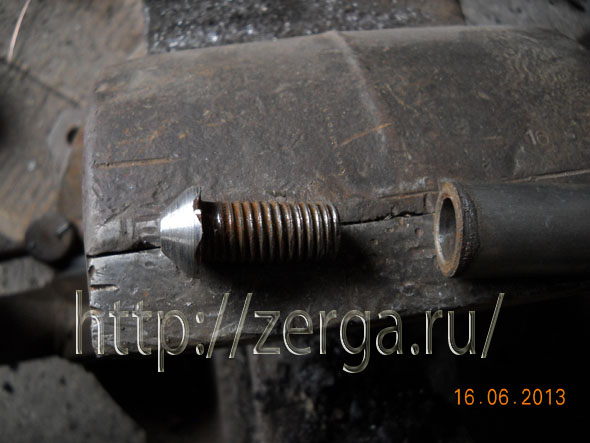
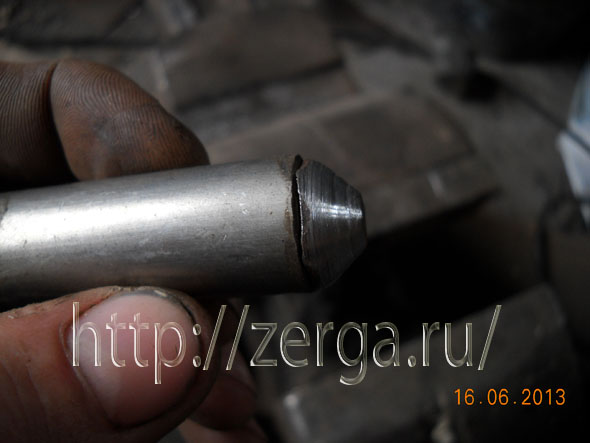
I made this bullet from an ordinary bolt. I happened to have a lathe, and I just sharpened the bolt head, but you can grind it off with a sharpener.
I don't remember the exact thickness of the bolt, but I think it was 10 millimeters. This bullet is inserted into the sleeve and looks like this.
We lubricate the bullet with soap and then, according to the principle, as before, crush the sleeve with a vise.
Everything calmly falls into place, but since a bullet is installed in a metal sleeve, it will not reach the end, because it will rest against the cheek of the vise.
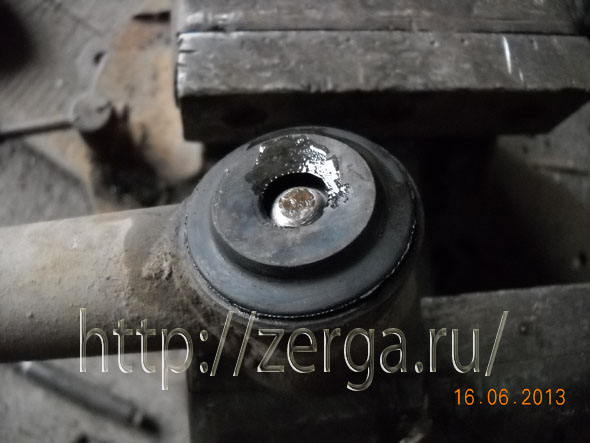
Now we need a stand in order to annoy the sleeve. I used an inch sleeve, it just fit.
Having put the coupling, we are annoying the bushing.
After all the work done above, this is the result.
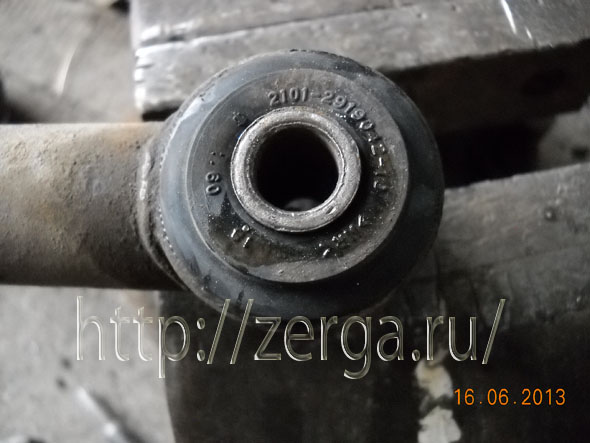
If the inner metal clip protrudes slightly from one side, you need to level it with a hammer.
And now we just have to set the traction in its place. Do not forget to lubricate the bolts with nigrol, you never know what quality the rubber bands will turn out to be.
That, perhaps, is all, we have replaced the VAZ 2107 jet thrust bushings.
Until new posts.