How to draw a cartoon snake. Children's pictures with a snake
More interesting.
Before starting the story, let me remind you what other lessons we have on the topic of mystical characters and various horror stories:
- (he is also a bastard still that one);
And in this lesson we will learn. I picked up a few interesting pictures. Try to follow step by step instructions I hope everything works out for you.
Step one. Let's draw the shape of the snake's head. Notice the groove on the top of the head.
Step two. On the created template, draw the shape of the future head, first the upper part, then the lower, as well as the jaw. The jaws of the snake are slightly elongated.


Step three. The snake is very expressive eyes, they reflect the soul of the victim - she can eat even without remorse! Try to emphasize character traits predator. Pay attention to the nostrils of the snake, they are similar to those that we drew in the previous lesson "". Do not forget to periodically work on the sketch with an eraser, deleting unnecessary strokes, and detail the already drawn object by adding new elements.

Step four. Trace around the edge of the snake's mouth as you see in the picture. Also refine the edges of the eyeball and pupillary fissure. In the mouth, add curved lines in the form of an arch for the tongue.
 Step five. We draw. And add some details inside the mouth, detail the tongue.
  Step six. The last thing you have to do is draw an outstretched neck.
Step last. We remove the auxiliary lines with the help of an eraser, and once again carefully outline the contours of the snake. Here is what we should get:
 I wonder what kind of snakes you drew? Show your drawings. And here is mine pencil drawing of a snake:
A year after birth, the baby becomes independent enough to learn about the world around him. Eyes shining with genuine interest constantly look around in search of new information. Here is the time for parents to give the curiosity of the child right direction, and at the same time divert attention from sockets, cans of cereals, a hot iron and other benefits of civilization. Children's with the image of various animals will give a visual representation of the living creatures that inhabit our planet. Acquaintance with the inhabitants of the wild will be a useful and exciting experience, it will open up new, hitherto unknown facets for the little researcher.
For parents, this is another opportunity to take a closer look at the child, in communication to identify his interests, inclinations, sympathies. You can start the study with such an unusual animal as a snake. Pictures for children are specially designed in a playful way to show appearance, habits, habitat. With the help of drawings and photographs, adults will definitely be able to tell in an interesting way what is the danger and benefit of the snake, cobra, viper, python and other crawling “colorful ribbons”.
It is especially important to study these animals, common on every continent (except Antarctica), when the twelve-year cycle of the Chinese calendar leads the year of the snake. Pictures for children will also be useful to teachers: educators at, school teachers will be able to supplement their classes and lessons on relevant topics. In addition to information directly about snakes, as representatives of the fauna, you can find completely unexpected facts from other areas of knowledge. Here are just a few examples:
- Astronomy: the sky is decorated with the equatorial constellation Serpent, visible over the entire territory of our country. This constellation is unique in that it consists of two unrelated parts, it was separated by another cluster of stars - Ophiuchus.
- Geography: The winding Snake River flows in the northwestern United States. The Indians called the river Shawpatin, which is very consonant with our "serpentine", which comes from the Latin serpentinus - snake.
In the mythology of many nations, the snake symbolizes wisdom and knowledge, and therefore can lead to new knowledge and discoveries. Let the study of pictures with snakes for children begin the path of gradual maturation, steady acquisition life experience and understanding of the world order.
Selection of materials
all pictures can be downloaded absolutely free - click on them, download and print:
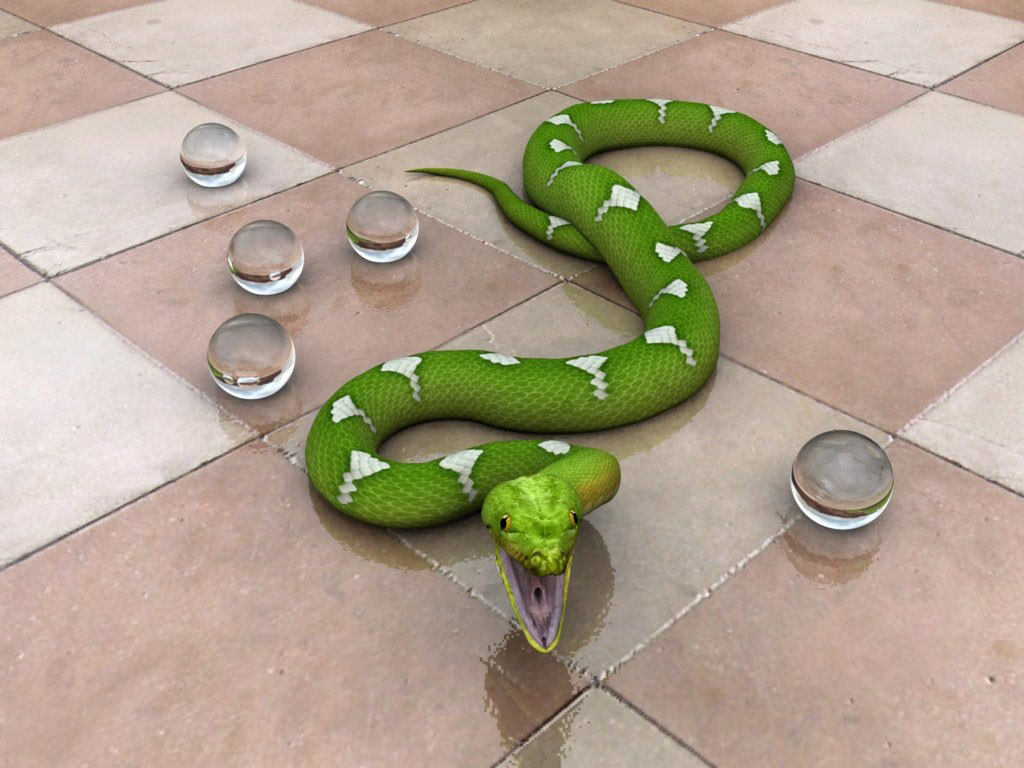
Beautiful picture snakes:
 Kid riding a kite
 Snake maze for kids:
 Cobra picture:
 Coloring snake:
 Drawn picture of a snake:
 3d snake picture:
 Another snake - coloring:
 New Year snake picture 2013:
 Other snake options New Year 2013.
How to draw a snake. Snakes are widespread, they prefer to settle near water, but they also live in the steppes and even quite high in the mountains. In general, where there are frogs, lizards or mice for food, there are snakes and it’s good. Therefore, I think that almost any of us at least once saw a live snake - a very ordinary snake. Out of fear, people confuse it with a viper, but here it should be noted that the snakes mostly have a fairly uniform color, the spots on the body, if any, are dim. Vipers, on the other hand, are usually decorated with a clearly visible zigzag pattern. (There is another difference - I'll talk about it later, but now let's draw a snake.
Drawing "Already crawling"
A crawling snake does not meander in steep waves, but looks like a smoothed sine wave. First, with a pencil, outline the line of the ridge. Further - it is easier, we draw sides and the head. Or maybe not easier. When children draw snakes from imagination, the most difficult thing for them is to maintain a uniform thickness of the body and, at the same time, smoothly narrow the tail to nothing.

I advise: as you make a sketch with a pencil, put it aside and let it lie down. Then, with a fresh eye, check all the curves - have you passed your snake and fed the elephants. After making sure that the width is in order everywhere, we will specify more details of the head:

Well, here we have a very simple drawing. Let's apply it as a coloring:

Well, in fact, the spots on the sides are usually much less pronounced. But on the head, the coloring is worth considering in more detail.
How to draw a snake head

The head is triangular:

Wide-set eyes are round (with round pupils). A forked tongue protrudes from the mouth:

And now the most interesting -on the neck snake usually has yellow, rarely white or orange spots.

Despite the seeming simplicity, drawing snakes puzzles parents of kids. Children cannot always draw a snake believably themselves, which is why they ask adults. So, let's take a step-by-step look at the process of drawing snakes.
How to draw a snake step by step
Stage 1 - First, draw an oval snake head. Then from the head down and to the right we draw the contour of the body in the form of a winding line.
Stage 2 - Thicken the drawn "skeleton" of the body, with two parallel lines, moreover, near the head they should be located wider, and gradually taper near the tail, and draw a line of the upper part of the head.
Stage 3 - drawing the details of the head. In the form of a point, draw a nose, depict eyes, the pupils of which are located vertically. On the left side of the oval, draw a forked tongue. decorate her body with such a variety of spots.
Stage 4 - erase all auxiliary lines with an eraser, trying not to disturb the drawing, and make the main contour clearer.
Stage 5 - now you can start coloring the picture.
And hello again everyone!
Call your children to the monitors, because today we will learn how to easily draw a minion in stages. For those who do not know minions - these are such cute and funny characters from the Despicable Me cartoon trilogy. They are all yellow in color, look like chocolate egg toy packaging, speak their own language, and all the time get into interesting situations under the leadership of their owner, an awkward man with a big nose named Gru. Although I think that every adult, and even more so a child, imagines what these restless pets look like.
I will draw with a felt-tip pen, you can follow my example or use with a simple pencil to correct the drawing, if necessary. Take a sheet of paper, preferably landscape.
If you want to draw a large minion, then it is better to place the sheet vertically, if you plan to depict several pieces next to each other, then you can horizontally. All minions are very similar to each other, but there is one significant difference - some are more fortunate and have two eyes, while others are content with only one. I will draw a more developed yellowbell that sees twice as well.
I'll start drawing from the eyes. First, we depict two identical circles, around which we make a border. The edging will serve as points in the future. It turned out like this eight.
To make the eyes real, add pupils to them. I draw two pieces, who decided to portray a one-eyed cyclops will do it twice as fast! 
In the next step, we will draw a body for our minion. Here you can dream up. Depending on the size of the torso, it will be high, low or regular, like mine. 
Are there bald minions? Certainly! But I decided to make mine handsome, gave him such rare curls. You can depict the vegetation on the head in a different way, for example, draw a thick tuft from one point, similar to how a palm tree grows. And at this stage, do not forget to draw the strap from the glasses. It turned out like this. 
The yellow men are mostly dressed in the same denim overalls, in other words, just trousers with straps. My friend is no exception. Now I will draw the very straps on which to hold the pants. The dots on the straps are buttons or buttons. 
Almost left our yellow hero without the opportunity to discuss last news with brothers. Let's go back and draw his mouth. I like to smile, so of course I decorated my face with a smiling grin. 
What's next, you ask? Further we will draw hands, one is raised up, the other is lowered. It may be different for you, both up, both down, you can even portray one-armed bandit. In fact, these are just blanks, a little later we will turn them into real hands. 
Let's return to the torso and clothes, draw a jumpsuit with an obligatory pocket in the middle. 
In the next step, let's finish the arms and finish the brushes, in my drawing it turned out like this. 
There is a head, there are hands. What is missing? Correctly draw the minion's legs. This is also easy and simple to do. That's all the drawing is ready! 
Of course, children love colorful and bright drawings more. Therefore, so that the impressions of today's lesson remain in your memory for a long time, take pencils or felt-tip pens and decorate the picture, as I did. The minion itself is yellow, the clothes are blue, the eyes are brown, and the glasses can be shaded with a silver felt-tip pen or a simple pencil. I think it turned out great, write your opinion in the comments. 


